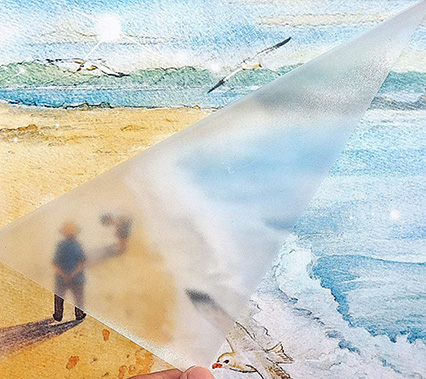
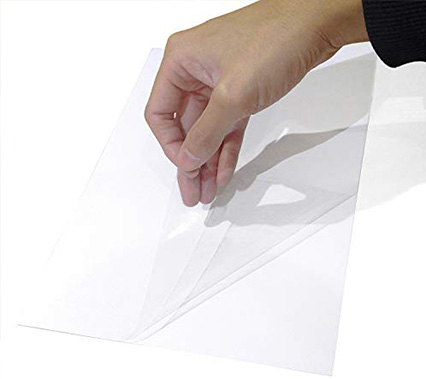
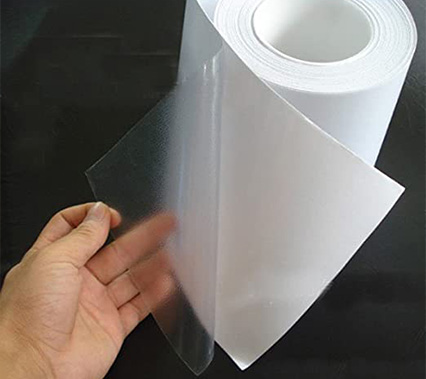
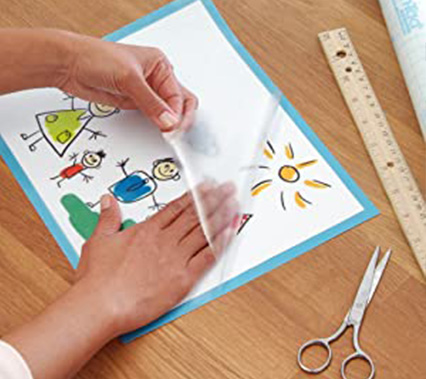
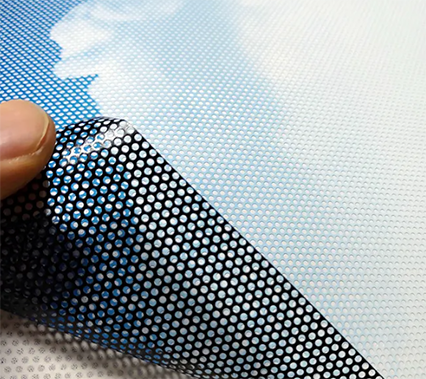
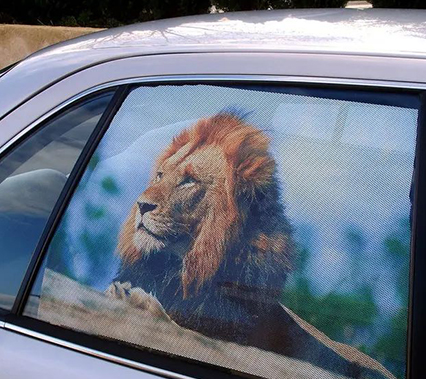
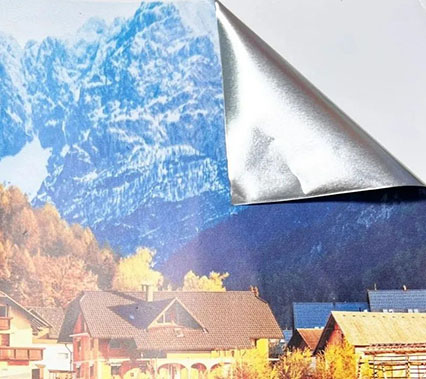
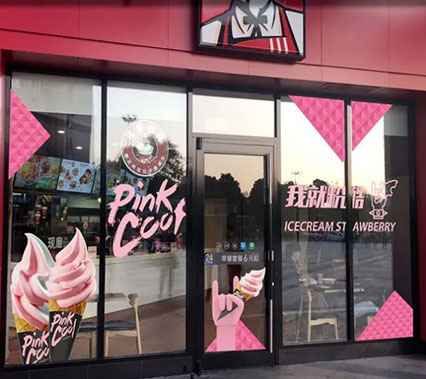
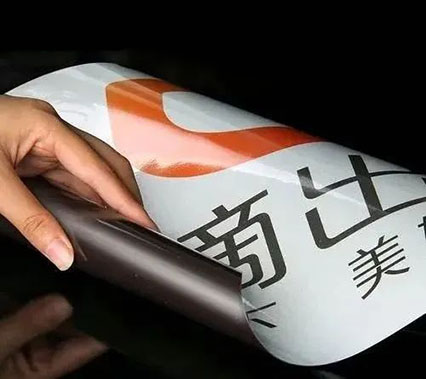
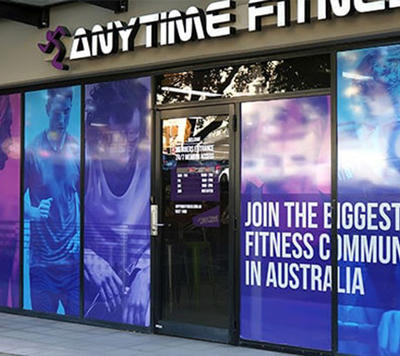
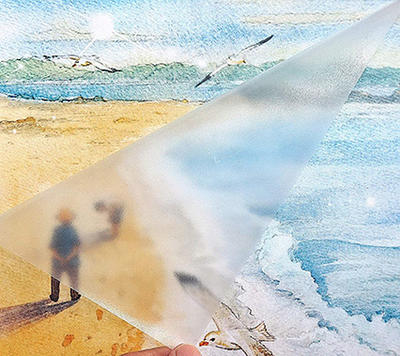
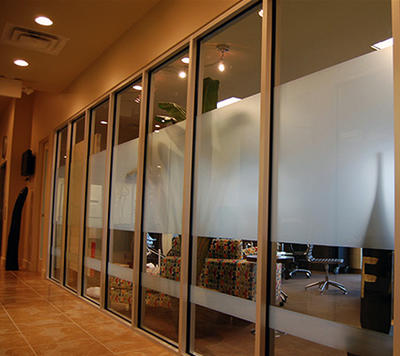
Cold lamination film is a transparent PVC film produced through an adhesive coating process, designed to form a protective layer over printed graphics and decorative surface materials. Depending on the texture of the film face, the range spans glossy, matte, frosted, and specialty textured protective options, allowing the surface finish to be matched to the visual character of the underlying print or substrate. Applied either by hand or with a cold laminating machine, the film primarily serves as a barrier against scratching, surface contamination, and moisture exposure, extending the practical service life of the printed or decorated surface beneath it.
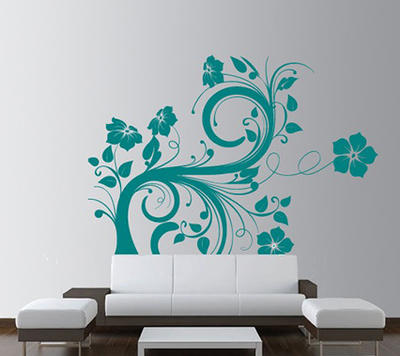
Beyond straightforward print protection, cold lamination film is commonly used across architectural films and interior films projects, including self adhesive vinyl wall covering and self adhesive vinyl wall panels, as well as vinyl wrap and vinyl wrapping work on furniture and fixed surfaces. It is frequently paired with wood grain contact paper for furniture and timber-effect finishes to replicate a natural timber film appearance while adding a protective top layer. Because no heat is required during application, cold lamination film remains compatible with substrates that are sensitive to thermal exposure, making it a practical match for DPI series vinyl and other printed decorative films used in surface renovation work.
Key Surface Finishes Available in Cold Lamination Film
Glossy Film
Produces a reflective, high-clarity surface that enhances color saturation and image sharpness of the printed graphic beneath it. Commonly selected for printed pictures and display graphics where visual impact is a priority.
Matte Film
Reduces surface reflection and glare, producing a soft, non-reflective finish. Often preferred for interior films and self adhesive vinyl wall covering applications where reduced glare improves readability under indoor lighting.
Frosted Film
Offers a diffused, semi-translucent surface texture that softens the appearance of the underlying print. Suited to decorative vinyl wall panels where a subdued, tactile surface is desired.
Specialty Textured Film
Replicates surface patterns such as wood grain or fabric-like textures. Frequently combined with wood grain contact paper for furniture and timber film products to add a protective, tactile top layer while preserving the natural appearance of the design.
Typical Application Scenarios for Cold Lamination Film
Printing picture protection — general prints, photographs, and posters protected against scratching, dust, and moisture.
Matching with DPI series vinyl — pairs with printed vinyl films to form a combined print-and-laminate system.
Furniture and surface renovation — used alongside furniture contact paper, table vinyl wrap, and vinyl wrapped table projects to add a protective top layer over printed or solid-color vinyl.
Cabinet and kitchen surfaces — applied over vinyl wrap for cabinets, kitchen cabinet wraps, and vinyl wrap kitchen work, as well as vinyl wrapping for countertops, wrapping countertops, and worktop wrapping, where the laminate adds resistance to daily handling and moisture.
Wall covering and architectural work — supports self adhesive vinyl wall covering, self adhesive vinyl wall panels, and waterproof wall panels used in interior films and architectural films projects.
Large-format graphics — compatible with splicing film techniques for joining wide-format printed panels into a continuous surface.
When paired with waterproof contact paper for cabinets or other moisture-exposed surfaces, a laminate layer helps reduce the risk of edge lifting and surface degradation associated with repeated cleaning and humidity.
Installation and Handling Recommendations
Surface preparation — the substrate should be clean, dry, and free of dust or grease before application.
Application method — apply by hand for small pieces or irregular shapes, or with a cold laminating machine for continuous rolls, maintaining even pressure to avoid trapped air.
Ambient conditions — application should take place within a stable temperature range to keep the adhesive workable and reduce the risk of bubbling.
Alignment and trimming — align the film squarely before pressing down, and trim excess edges cleanly, particularly for wraps on cabinets, worktops, or table surfaces.
Post-application handling — avoid excessive flexing or exposure to extreme conditions during the initial hours after lamination to allow the adhesive to set fully.
Durability and Storage Considerations Across Film Categories
Outdoor durability varies across the cold lamination film range depending on face film thickness, adhesive weight, and liner construction. Economical and practical grade films are generally suited to shorter to mid-term outdoor exposure, anti-UV grade films extend resistance to sunlight-related degradation, and polymeric grade films are formulated for longer-term outdoor performance. Across the range, films should be kept in their original packaging, away from direct sunlight and extreme temperature or humidity, until they are used.
Film Category
Typical Surface Options
General Use Profile
Economical / Practical Grade
Glossy, Matte, Frosted
Indoor and general-purpose outdoor graphics, short to mid-term exposure
Anti-UV Grade
Glossy, Matte
Outdoor graphics requiring extended resistance to sunlight exposure
Polymeric Grade
Glossy, Matte
Longer-term outdoor applications and architectural surface graphics
Specialized (PET-backed) Grade
Clear
Applications requiring a thin, specialized protective layer
Compatibility with Other Decorative and Protective Films
Cold lamination film is designed to function alongside other decorative and protective surface materials rather than as a standalone product. It is commonly layered over printed or solid-color vinyl films, combined with splicing film techniques for large graphics, and used together with self adhesive vinyl wall covering, wood wrap and wooden wrap finishes, and contact paper products for furniture and cabinetry. This compatibility allows the laminate to be integrated into broader interior films and architectural films projects without altering the design intent of the base material.
Splicing FilmVinyl WrapContact PaperWall PanelsTimber Film
Frequently Asked Questions
Q1: What is the difference between glossy, matte, and frosted cold lamination film?
The three finishes differ mainly in surface reflectivity and tactile texture. Glossy film produces a reflective, high-clarity surface, matte film reduces glare for a flatter appearance, and frosted film provides a diffused, semi-translucent texture. The choice generally depends on the lighting conditions and visual effect required for the finished graphic or surface.
Q2: Can cold lamination film be applied without a laminating machine?
Yes. Cold lamination film can be applied by hand for smaller pieces or irregular surfaces, and with a cold laminating machine for continuous rolls or larger production runs. Hand application requires careful attention to alignment and pressure to avoid trapped air, while machine application generally provides more consistent results across larger areas.
Q3: How long does a cold laminated surface typically last outdoors?
Outdoor durability depends on the specific film grade selected. Economical and practical grade films are generally suited to shorter to mid-term outdoor use, anti-UV grade films offer extended resistance to sunlight exposure, and polymeric grade films are formulated for longer-term outdoor performance. The appropriate grade should be matched to the expected exposure conditions of the finished application.
Q4: Is cold lamination film suitable for interior films such as wall coverings and furniture wraps?
Yes. Cold lamination film is commonly used in interior films projects, including self adhesive vinyl wall covering, self adhesive vinyl wall panels, and furniture contact paper applications, where it provides an additional protective layer over the printed or decorative surface without requiring heat during application.
Q5: What is the recommended storage period for cold lamination film before use?
Cold lamination film is generally intended for use within twelve months of manufacture when stored under appropriate conditions. It should be kept in its original packaging, away from direct sunlight, and in an environment with stable temperature and humidity to preserve adhesive performance until application.
Q6: Can cold lamination film be combined with printed vinyl for kitchen cabinet or countertop wrapping projects?
Yes. Cold lamination film is frequently applied over printed or solid-color vinyl used in vinyl wrap for cabinets, kitchen cabinet wraps, and vinyl wrapping for countertops projects. The laminate layer adds a degree of surface protection against scratching, moisture, and daily handling on frequently used surfaces such as worktops and tabletops.
How to Apply Vinyl Wrap for Cabinets and Furniture Surfaces Without Bubbles or Peeling
Preparing Cabinet Surfaces Before Any Film Goes Down
Most wrap failures trace back to one step that gets rushed: surface preparation. Cabinet doors and furniture panels carry years of grease, silicone-based polish, and micro-scratches that prevent adhesive from bonding evenly. Before any cold lamination film or wood grain contact paper touches the surface, the panel needs to be degreased, sanded lightly if glossy, and dried completely.
Surface Readiness Checklist
Remove hardware, hinges, and handles entirely rather than wrapping around them
Wipe with isopropyl alcohol or a dedicated degreaser, not household glass cleaner
Scuff high-gloss laminate or melamine with fine-grit sanding pads to improve tooth
Fill chips or dents with wood filler and sand flush before wrapping
Let the surface dry for at least twenty minutes in a dust-free area
Ambient conditions matter as much as the panel itself. Adhesive films bond best between 18 and 24 degrees Celsius. Below that range the adhesive stiffens and resists conforming to edges; above it, the film can stretch prematurely and shrink back once it cools, pulling away from corners days later.
Choosing a Film Type That Matches the Substrate
Not every wrap film behaves the same way on cabinetry. Thickness, adhesive strength, and finish texture all change how forgiving the material is during application, especially around routed edges and inset panels common in kitchen cabinetry.
Film Category
Best Substrate
Conformability
Typical Finish
Cast PVC wrap
Curved doors, routed panels
High
Matte, satin, textured
Calendered PVC wrap
Flat drawer fronts
Moderate
Gloss, semi-gloss
Wood grain contact paper
Countertops, furniture tops
Moderate
Embossed wood texture
Cold lamination overlay
Printed or protective top layer
High
Clear or matte protective
For projects that combine curved edges and flat panels in the same kitchen, many installers keep two film weights on hand rather than forcing one product to do both jobs. A thinner cast film handles tight radii on cabinet frames, while a slightly heavier wood grain contact paper for furniture holds its texture better on large, flat tabletops.
Tools That Determine Whether the Result Looks Professional
The tool list for wrapping is short, but skipping any single item shows up immediately in the finished surface.
3core tools: squeegee, heat gun, precision blade
60-80Ctypical heat range for edge wrapping
45degsqueegee angle for pushing out air
Felt-edge squeegee to avoid scratching the film surface while pressing out trapped air
Low-temperature heat gun for softening film around corners and routed grooves
Precision snap-blade knife with frequent blade changes to keep cuts clean
Tack cloth for a final dust pass immediately before laying film down
Masking tape hinge to hold large sheets in alignment before the backing is peeled
Step-by-Step Application Process for Cabinet Panels
Once the panel is clean and dry, the sequence below applies whether the goal is a full vinyl wrap kitchen refresh or a single accent piece of furniture.
Measure the panel and cut film with at least 2.5 centimeters of overage on every edge
Position the sheet dry, using the hinge-tape method to lock alignment before peeling backing
Peel the backing in short sections, pressing from the center outward with the squeegee
Apply gentle heat at edges and routed details, working the film into the profile
Trim excess with a fresh blade, keeping the cut just inside the panel edge
Re-check corners after the film cools, reheating and re-pressing any lifted spot
Why Cabinet Wraps Lift, Bubble, or Peel Prematurely
Even experienced installers run into failures when a small variable is overlooked. The pattern is usually predictable once the underlying cause is identified.
Most lifting starts at the same three points: inside corners, the seam behind a hinge, and any spot where dust was trapped under the film during application.
Symptom
Likely Cause
Fix
Small bubble under flat area
Trapped air or dust
Pierce with a pin, press flat, reheat lightly
Edge lifting after a week
Insufficient heat during install
Reheat edge, press firmly, hold 10 seconds
Film shrinking at corners
Applied in cold room, then warmed
Reapply in stable temperature, avoid overstretching
Discoloration near stove or sink
Wrong film grade for heat or moisture exposure
Switch to a film rated for that zone
Vinyl Wrap Kitchen Projects Compared With Full Refinishing
For homeowners weighing a vinyl wrap for cabinets against a full repaint or replacement, the decision usually comes down to downtime, budget, and how long the kitchen needs to stay usable.
Factor
Vinyl Wrapping
Full Repaint
Cabinet Replacement
Typical downtime
1 to 3 days
4 to 7 days
2 to 4 weeks
Surface prep needed
Moderate
Heavy
Demolition
Color and texture range
Wide, including wood grain
Wide, solid colors
Unlimited
Expected lifespan
5 to 10 years
3 to 6 years
15 plus years
Keeping a Wrapped Surface Looking New
Wrapped cabinets and furniture hold up well when cleaned correctly, but a few habits extend the film's working life significantly.
Wipe spills with a soft cloth rather than an abrasive sponge
Avoid ammonia-based cleaners, which can dull matte and textured finishes
Keep direct heat sources such as toaster ovens a short distance from wrapped edges
Re-seat any lifted corner promptly with light heat rather than waiting for it to spread
Panels finished with wood grain contact paper for furniture tend to show wear first along handled edges, so a light protective wipe-down in those zones every few weeks helps the finish age evenly.
Frequently Asked Questions About Cabinet Vinyl Wrapping
Q1: Can vinyl wrap go directly over painted cabinets?
Yes, as long as the paint is fully cured, free of flaking, and degreased first. Fresh paint under 30 days old should be allowed to cure further before wrapping.
Q2: How long does a cabinet wrap typically last?
Most well-applied wraps hold up for five to ten years depending on kitchen humidity, heat exposure, and daily handling around high-touch edges.
Q3: Is professional installation necessary for a wood grain finish?
Not strictly, but wood grain textures show seams and misalignment more visibly than solid colors, so careful measuring and slow, even pressure matter more than with flat finishes.
Q4: What causes bubbles to appear weeks after installation?
Delayed bubbling usually points to dust trapped under the film or incomplete adhesive bonding at the time of application, which surfaces once temperature shifts in the room.
Q5: Can wrapped cabinets be wrapped again over the existing layer?
It is not recommended. The old film should be removed and the surface cleaned again, since layering films reduces adhesion and can trap air between layers.

 English
 简体中文
简体中文